Category: Power Wheelchair
Posted by 2026-01-10 13:01
hoyer lift tutorial

Hoyer Lift User Guide: Mastering Core Skills for Safe Transfers Step by Step
For families and caregivers who need to look after relatives or patients with limited mobility, the Hoyer Lift is an important tool that greatly enhances safety and dignity. With mechanical assistance, it helps people who cannot move independently transfer from beds to wheelchairs, commodes, or shower chairs, eliminating risks such as falls and strains caused by manual lifting.
However, many people feel overwhelmed or even intimidated when first using a Hoyer Lift: "How do I assemble so many parts?" "Will I make an operation mistake?" "Will the patient feel uncomfortable?" In fact, as long as you master the correct methods and procedures, using a Hoyer Lift can be safe, efficient, and full of humanistic care.
This guide will take you from scratch, teaching you step by step how to safely use a Hoyer Lift to complete a standard bed-to-wheelchair transfer in a clear and practical way. hoyer lift tutorial The following steps apply whether you use an electric or manual model.
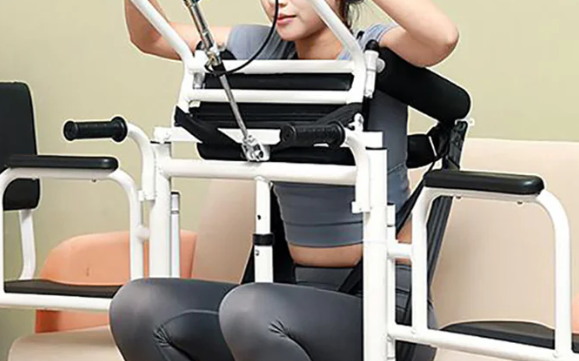
Step 1: Get to Know Your Hoyer Lift
Before operation, familiarize yourself with the main components of the equipment:
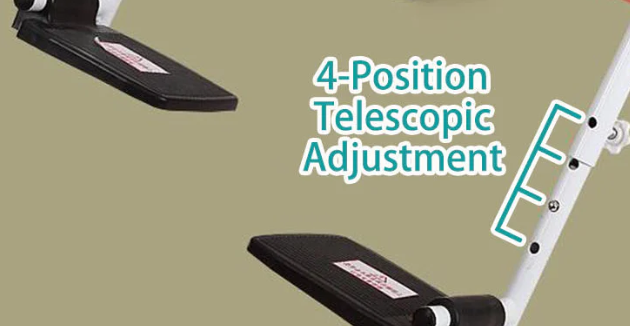
Base and Outriggers: Provide stable support and must be fully extended and locked during use.
Lifting Arm: Connects to the sling and is responsible for lifting and lowering.
Hydraulic System (Manual Models) or Motor and Battery (Electric Models): Provides power.
Handle or Remote Control: Controls lifting and lowering movements.
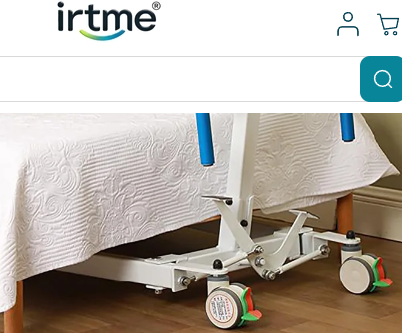
Wheels and Brakes: Facilitate movement and position fixing.
Sling: Directly supports the patient’s body and is key to safety.
Note: Different brands (such as Arjo/Hoyer, Drive Medical, Invacare) may vary slightly in appearance, but their basic structure and operating logic are consistent.
Step 2: Preparation Before Operation
1. Assess the Patient’s Condition
Confirm the patient is conscious, emotionally stable, and free from acute pain or discomfort. If there is skin damage, hoyer lift tutorial unhealed fractures, or severe osteoporosis, consult medical staff first to confirm whether using a Hoyer Lift is appropriate.
2. Prepare the Environment
Clear obstacles from the floor (such as wires, slippers, and stools).
Ensure the path from the bed to the target chair is unobstructed.
Move the wheelchair nearby, lock its brakes, and retract the footrests.
3. Inspect the Equipment
Can the outriggers be fully extended? Do you hear a "click" indicating locking?
Do the wheels roll smoothly? Are the brakes effective?
For electric models: Is the battery fully charged? Does the remote control respond?
For manual models: Is there any hydraulic oil leakage? Does the handle operate smoothly?
4. Select and Inspect the Sling
Choose a sling suitable for the transfer purpose (e.g., a standard full-body sling for bed-to-wheelchair transfers). Check for damage, mold, split seams, or deformed metal buckles. Never use a sling with any defects.
Step 3: Properly Place the Sling
This is the most critical step in the entire process. Incorrect sling placement may cause slipping, nerve compression, or even falls.
Assist the patient to lie on their side (usually the stronger side), and gently slide the folded sling under their back.
Help the patient lie flat again, then pull the end of the sling out from under their legs.
Adjust the position:
The patient’s hips must be fully seated in the bottom pocket of the sling—this is the core weight-bearing area.
The leg straps should be positioned at the mid-thigh, approximately 10–15 cm from the knees. hoyer lift tutorial Never let them constrict the popliteal fossa (back of the knees), as this may damage the common peroneal nerve and cause foot drop.
The fabric on the back should be flat, with no wrinkles piling up on the shoulder blades or waist.
All lifting loops should face upward and be free of twists.
Tip: For single-person operation, ask the patient to slightly bend their knees or lift their hips to make it easier to slide the sling into place.
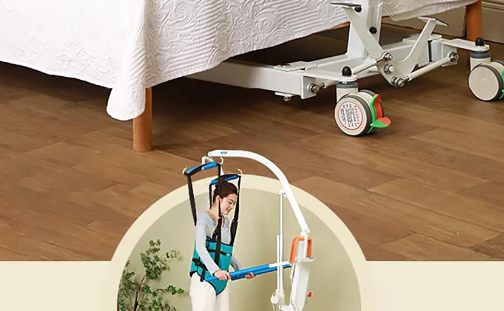
Step 4: Deploy the Equipment and Connect the Sling
Push the Hoyer Lift to the bedside, ensuring the base fully enters the space under the bed.
Fully extend the outriggers and confirm they are locked in place (you will hear a "click").
Lower the lifting arm and attach the sling’s lifting loops to the hooks one by one.
Check if each hook is closed (most have a color indicator window—red dots disappear or turn green when closed).
Gently pull the sling to test if the connection is secure.
Step 5: Perform the Transfer
Low-Level Test: Slowly lift the patient 5–10 cm, then pause to observe:
Is the sling slipping?
Is the patient complaining of pain, dizziness, or tension?
Is the equipment stable and not tilting?
Continue Lifting: After confirming no abnormalities, lift the patient smoothly to a height slightly above the wheelchair seat.
Move the Equipment: Release the brakes, and use leg strength (do not bend over) to push the Hoyer Lift steadily to a position directly above the wheelchair. Pay attention to aligning with the center to avoid deviation.
Control Lowering: Lower the patient slowly so their hips gently touch the wheelchair seat. hoyer lift tutorial Use short, incremental adjustments when approaching the seat to avoid "dropping" the patient onto the chair.
Remove the Sling: First, unfasten the leg straps, then gently pull the sling out from behind the patient to avoid rubbing their skin.
Arrange and Confirm: Help the patient straighten their clothing, adjust their sitting position, and add cushions or a footstool if needed. Ask: "Are you sitting comfortably?"
Step 6: Post-Transfer Tasks
Lock the wheelchair brakes and lower the footrests.
Clean or replace the sling.
Fold the Hoyer Lift and store it in a dry place.
Note the transfer time and the patient’s reaction in the care record.
Common Issues and Safety Reminders
Outriggers not locked properly? → The equipment may tip over! Be sure to hear the locking "click".
Sling constricting the back of the knees? → Adjust immediately—long-term compression can cause permanent nerve damage.
Lowering too quickly? → For manual models: Rotate the release valve slowly. hoyer lift tutorial For electric models: Press the lower button gently and use short increments when approaching the seat.
Equipment not moving? → Check if the emergency stop button is pressed (it needs to be rotated to reset) or if the battery is dead.
Patient feeling scared? → Explain each step in advance, use a calm tone, and move gently.
Conclusion: Safe Transfers Start with Details and Succeed with Care
The Hoyer Lift is more than just a machine—it is a safe bridge between caregivers and patients. Mastering how to use it is not only about learning a skill, but also practicing respect for life.
Every smooth lift and lower combines professionalism with tenderness; every rigorous attention to detail is a response to trust. It is hoped that this guide will help you complete every transfer confidently and safely, making the care journey less worrying and more reassuring.